DIY Chalkboard
Hi there!
I've been absolutely loving this summer weather lately. It's the perfect time to hang out at the beach, wear shorts all day (even into the night) and go on some local adventures! Some of my favorite local spots for casual hangs and good vibes include The Lab Antimall and The Camp (both in Costa Mesa), The Anaheim Packing District, Abbot Kinney and Laguna Beach. All of these spots are an eyeful with tasteful shops, yummy bites and beautiful chalkboard decor.

Interior space at SEED People's Market, Costa Mesa
I've been noticing a lot of chalkboard art lately and absolutely adore the simplicity of it. It's a bit of a messy job but really accessible and very easy to do. With the chalkboard paint I received for my birthday (thanks Cindy!) I decided to make my own on this stunning renaissance frame I found. FYI this is a super easy and simple DIY. It was my first time making my own chalkboard and am super happy with the way it turned out :)
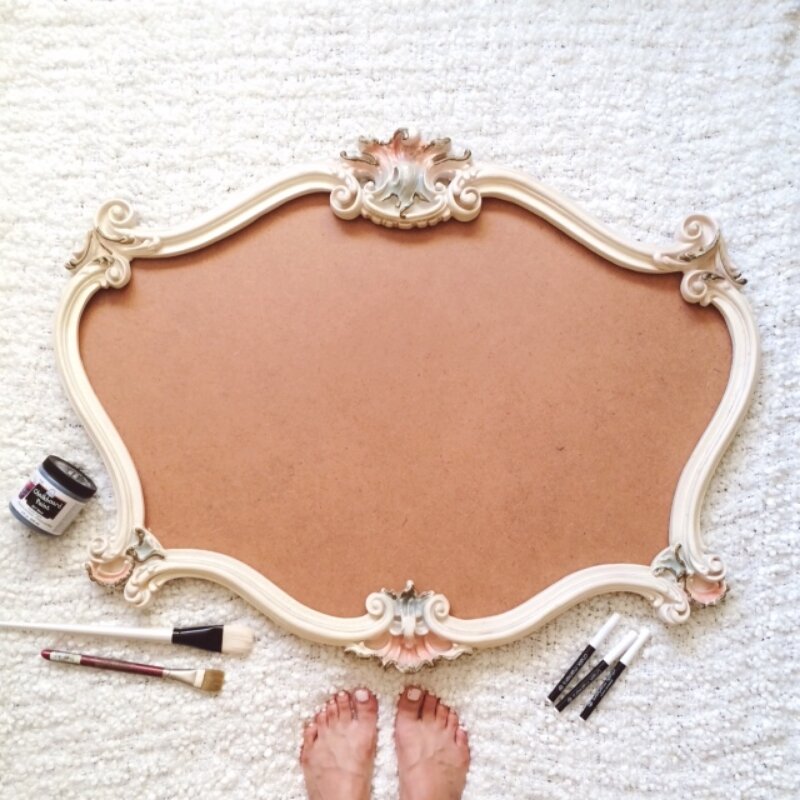
You will need:
- Chalkboard paint ; I used Folkart Chalk Paint but any brand is fine
- Chalk or chalk markers ; mine are from Target
- A frame or board with a porous surface (wood, paper mache, terra cotta, canvas, etc)
Steps:
- First, make sure you have a smooth, clean surface. I went over my board with a clean cloth to make sure it was dust-free before I started painting.
- Once you have a clean surface, begin by applying your first coat. You can use any brush (foam, bristol, paintbrush) as long as it is flat for an even coat. I used a big old paintbrush to coat most of the board and a smaller sized brush for the edges. Paint in left to right motion (rather than random strokes) so the paint will coat as even as possible.
- Wait about an hour or two, then layer on your second coat. This coat should make your board have that dark chalkboard color, remember elementary school days?
- Let it dry and cure for about 24 hours. The next day, lightly rub chalk over the surface to condition then chalk away!

You can also use chalk markers, which give it a much cleaner look but it is very difficult to erase. I didn't know the permanency of it until it was too late but I'm actually happy with the way it turned out and don't mind it much! If anyone has any tips and tricks to safely erase chalk markers, please let me know. Have a wonderful weekend everyone!